Getting a passport or visa photo approved on the first try doesn’t always mean visiting a studio. If you follow the correct technical standards and avoid the most common mistakes, you can take a fully approved ID photo at home—often using just a smartphone. This guide explains how to do it professionally, even without specialist equipment.
1. Understand the Exact Photo Requirements
Most countries follow similar ID photo rules, but dimensions and background policies may differ. Always verify the specific standards before you start.
| Region / Document | Photo Size | Background | Expression | Head Position |
|---|---|---|---|---|
| United States Passport | 2 x 2 in (51 x 51 mm) | Plain white | Neutral, eyes open | Head centered |
| EU / Schengen Visa | 35 x 45 mm | Light grey or white | Neutral | 70–80% of image |
| UK Passport | 35 x 45 mm | Cream or white | Neutral | Eyes directly forward |
| Australian Visa | 35 x 45 mm | White | Neutral | No head tilting |
📌 If a country provides a PDF or image guideline, use it as reference during shooting.
2. Choose the Right Equipment
- 📱 Smartphone with at least 8 MP camera (clean lens!)
- 💡 Soft light source (window light is ideal)
- 📷 Tripod or stable surface
- 🚫 No flash – causes shadows and skin highlight issues
If available, a basic ring light helps avoid shadows.
3. Lighting Setup
Stand about 1 meter in front of a window, facing it directly. If light is too harsh, use a translucent curtain. Avoid overhead light—it creates dark eye circles.
| Do | Don’t |
|---|---|
| Face natural light | Use ceiling lights only |
| Use soft, diffused lighting | Take photo in dim room |
| Keep background evenly lit | Allow shadows behind you |
4. Background and Positioning
- Stand against a plain light-colored wall
- Ask someone to take the photo, or use a tripod + timer
- Keep your body straight and shoulders relaxed
Important: Leave enough space around the head to allow cropping.
5. Dress and Posture
- Wear plain clothing that contrasts with the background (dark top for white wall works best)
- No uniforms or overly bright patterns
- Keep a neutral facial expression (not smiling, not serious)
- Look directly into the camera
👁 Glasses are generally not allowed unless medically necessary. Remove them if unsure.
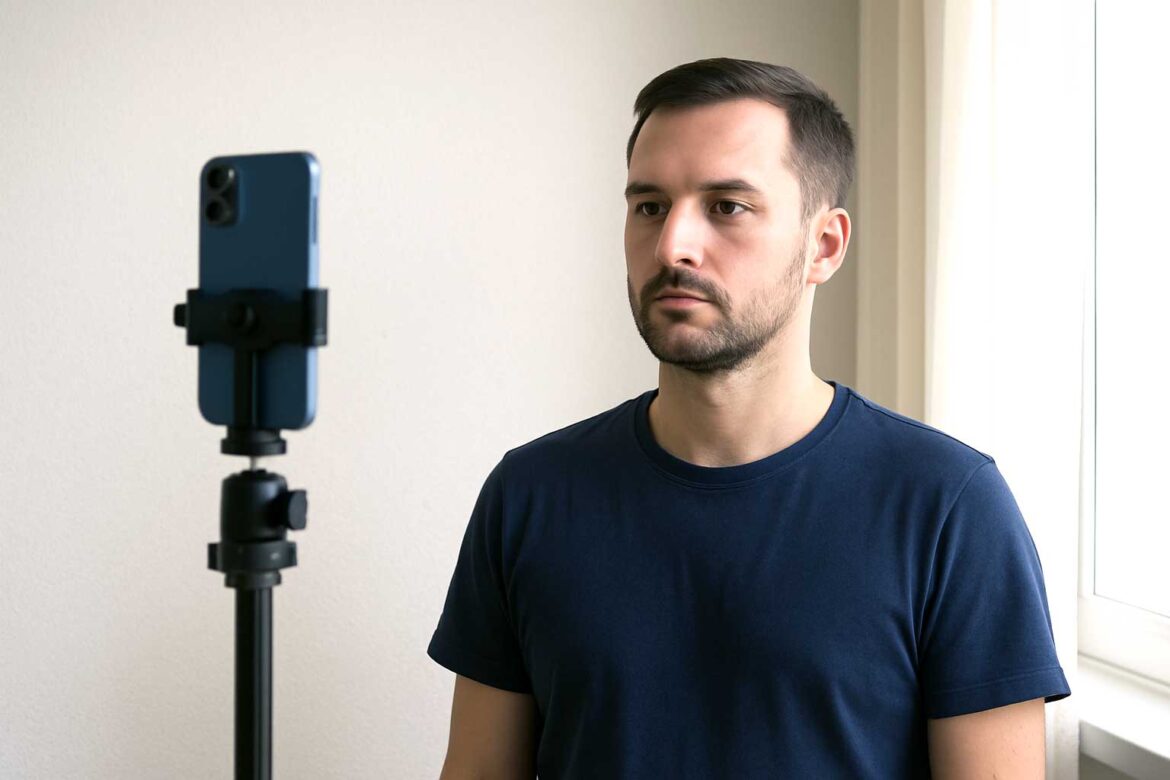
6. Taking the Photo – Step by Step
- Position camera at eye level
- Stand 1–1.5 meters away
- Keep full head and upper shoulders visible
- Check lighting and alignment
- Take 5–8 shots (choose best later)
📌 Ask someone else to take the photo if possible. Self-taken images often result in poor angle or lens distortion.
7. Digital Editing (Without Distorting Image)
You can correct dimensions and crop the photo but must not alter the facial features or lighting.
| Allowed | Not Allowed |
|---|---|
| Crop & resize | Change skin tone or lighting |
| Adjust contrast | Retouch face |
| Color to neutral | Apply filters |
| Correct alignment | Add soft-focus or effects |
8. Best Tools for Photo Adjustment in 2025
| Tool | Cost | Strength | Limitation |
|---|---|---|---|
| Adobe Photoshop | Paid | Full precision | Requires technical skills |
| GIMP | Free | Advanced control | Interface complexity |
| Passport Photo Online apps | Low-cost | Automatic sizing | Results vary |
| Pixlr / Canva | Free | Quick adjustments | Limited DPI settings |
Prefer PNG format if high-quality resolution is requested, otherwise JPEG is acceptable.
9. Final Checklist Before Submission
- ✔ Correct image size and DPI
- ✔ Uniform lighting, no shadows
- ✔ Neutral expression
- ✔ Head correctly centered
- ✔ Background fully clean
- ✔ No visible digital editing
If possible, print the photo (if required) and review it under natural light.
10. When to Retake the Photo
Retake if:
- One eye appears darker (shadow issue)
- Head is tilted even slightly
- Clothing blends into background
- Image looks too bright or too soft
Final Thoughts
Taking an ID photo at home is practical and often produces better results than quick studio snapshots, especially when you control lighting and posture. As long as you follow the official specifications and avoid modifying the image digitally, home-taken photos are widely accepted for passport and visa applications in 2025.
If any requirements are unclear, always refer to the issuing authority before submitting the photo—this prevents delays and resubmissions.